Free Crochet Teddy Bear Pattern Step by Step
Amigurumi · Plush Teddy Bear Pattern
Free Crochet Teddy Bear Pattern Step by Step
⏱ Intermediate-beginner make · Super-bulky chenille yarn · 5 mm hook
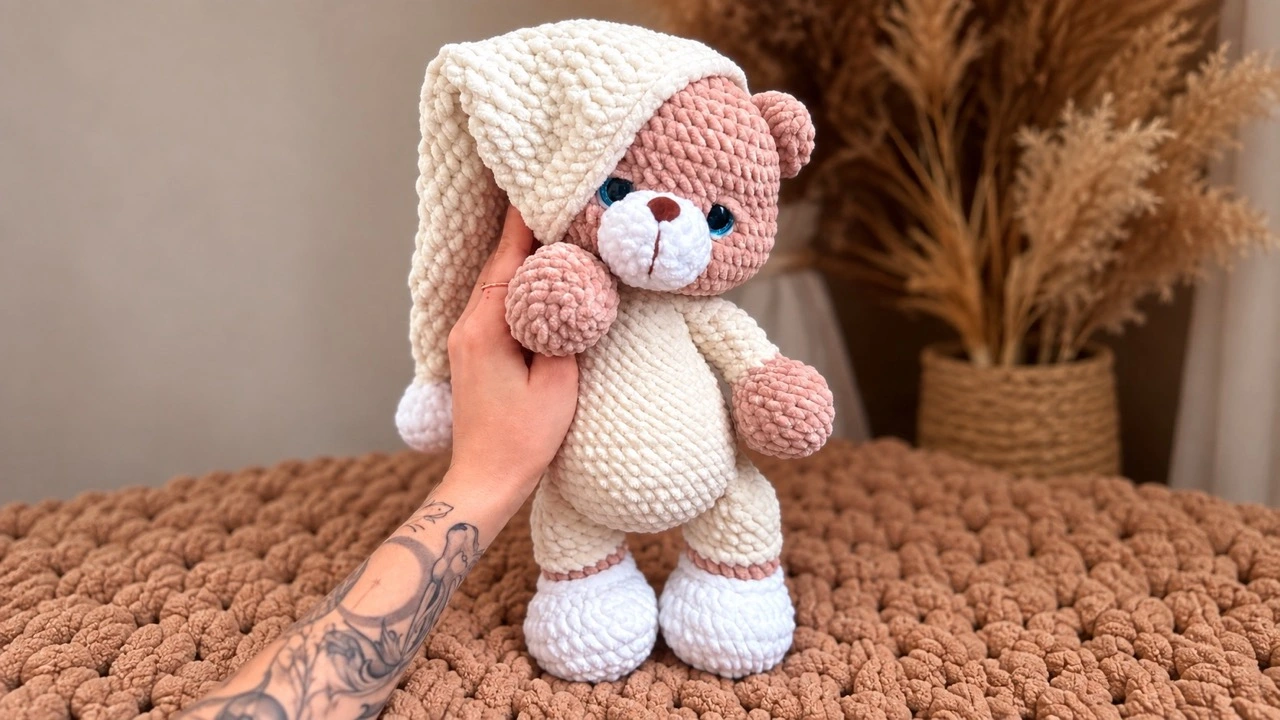
🧶 Your starting point This crochet teddy bear pattern lets you make Marty as a classic one-colour teddy bear or dress him in cosy pajamas with a matching cap. Super-bulky chenille yarn, simple spiral shaping, and a softly sculpted face give this bear his huggable character.
Marty is worked in continuous rounds, with the legs joined directly into the body. Keep a stitch marker in the first stitch of each round and count carefully—the fluffy chenille yarn makes it much easier to prevent a missed stitch than to find one later.
On this page
Contents
Crochet Teddy Bear Pattern Materials and Tools
Classic bear
| Item | What to use |
|---|---|
| Main yarn | YarnArt Dolce No. 747, about 1.5 skeins |
| Snout yarn | YarnArt Dolce No. 745 (cream) |
| Eye detail yarn | White yarn and YarnArt Jeans No. 70 |
| Eyes and nose | 16 mm glitter safety eyes; 12 × 15 mm velvet brown nose |
| Tools | 5 mm hook, stuffing, yarn needle, scissors, stitch marker |
Pajama bear
| Item | What to use |
|---|---|
| Bear yarn | YarnArt Dolce No. 747, about half a skein |
| Pajama yarn | YarnArt Dolce No. 741 (about 1/4 skein) and Himalaya Dolphin Baby No. 347 (about 1.5 skeins) |
| Snout and accents | YarnArt Dolce No. 745, white No. 741, and YarnArt Jeans No. 70 |
| Photo-sample colours | Bear: Dolce No. 771; pajamas: No. 745; slippers and snout: No. 741 |
| Eyes, nose, and tools | As for the classic bear |
Safety note: Safety eyes are not suitable for children under three. Embroider the face instead for a baby-safe version. If using heat to secure eye posts, work carefully with ventilation and keep heat away from yarn and stuffing.
Stitch Guide
| Abbreviation | Meaning |
|---|---|
| MR | magic ring |
| sc | single crochet |
| sl st | slip stitch |
| inc | increase: 2 sc in one stitch |
| dec | decrease: crochet 2 stitches together |
| ch | chain |
| dc / hdc | double crochet / half double crochet |
| hdc2tog | crochet 2 hdc together |
| BLO / FLO | back loops only / front loops only |
Work the toy in a spiral. Do not use a turning chain; that keeps the fabric seam-free. The number in parentheses is the stitch count for the round. For a wider US-terms reference, see the Craft Yarn Council crochet abbreviations guide.
The Crochet Teddy Bear Pattern
Part 1 · Crochet Teddy Bear Pattern Head
Use the main yarn. Stuff as you go.
- R1: 6 sc in a MR. (6)
- R2: 6 inc. (12)
- R3: (1 sc, inc) × 6. (18)
- R4: (2 sc, inc) × 6. (24)
- R5: (3 sc, inc) × 6. (30)
- R6: (4 sc, inc) × 6. (36)
- R7: 36 sc.
- R8: (5 sc, inc) × 6. (42)
- R9–R11: 42 sc.
- R12: 7 sc, (1 sc, inc) × 3, 15 sc, (1 sc, inc) × 3, 8 sc. (48)
- R13–R16: 48 sc.
- R17: 7 sc, (1 sc, dec) × 3, 15 sc, (1 sc, dec) × 3, 8 sc. (42)
- R18: (5 sc, dec) × 6. (36)
Place the safety eyes between R12 and R13, with 6 sc between their inside edges. From the third increase of R12 on the right cheek, count 3 sc to the eye; count 3 sc from the first increase on the left cheek to the other eye.
- R19: (4 sc, dec) × 6. (30) Stuff the head.
- R20: (3 sc, dec) × 6. (24)
- R21: (2 sc, dec) × 6. (18), then 2 sc and 1 sl st to align.
Fasten off and weave in the end. Leave a long doubled strand of main yarn for sewing the head on later. Fill the cheeks well, pushing stuffing outward from the centre so the shaping stays smooth.
Part 2 · Ears and Snout
Ears · Make 2
- R1: 6 sc in a MR.
- R2: 6 inc. (12)
- R3–R4: 12 sc.
Fold each ear in half and work 6 sc through both layers. Leave a long sewing tail. Sew the ears between R4 and R11 of the head.
Snout
- R1: 6 sc in a MR.
- R2: 6 inc. (12)
- R3: (1 sc, inc) × 6. (18)
- R4: 18 sc, then 2 extra sc and 1 sl st.
Leave a long tail. Attach YarnArt Jeans to the safety nose before inserting it between R3 and R4 of the snout. Secure the nose according to its manufacturer guidance, then sew the snout between R12 and R19 of the head.
Part 3 · Face and Needle Sculpting
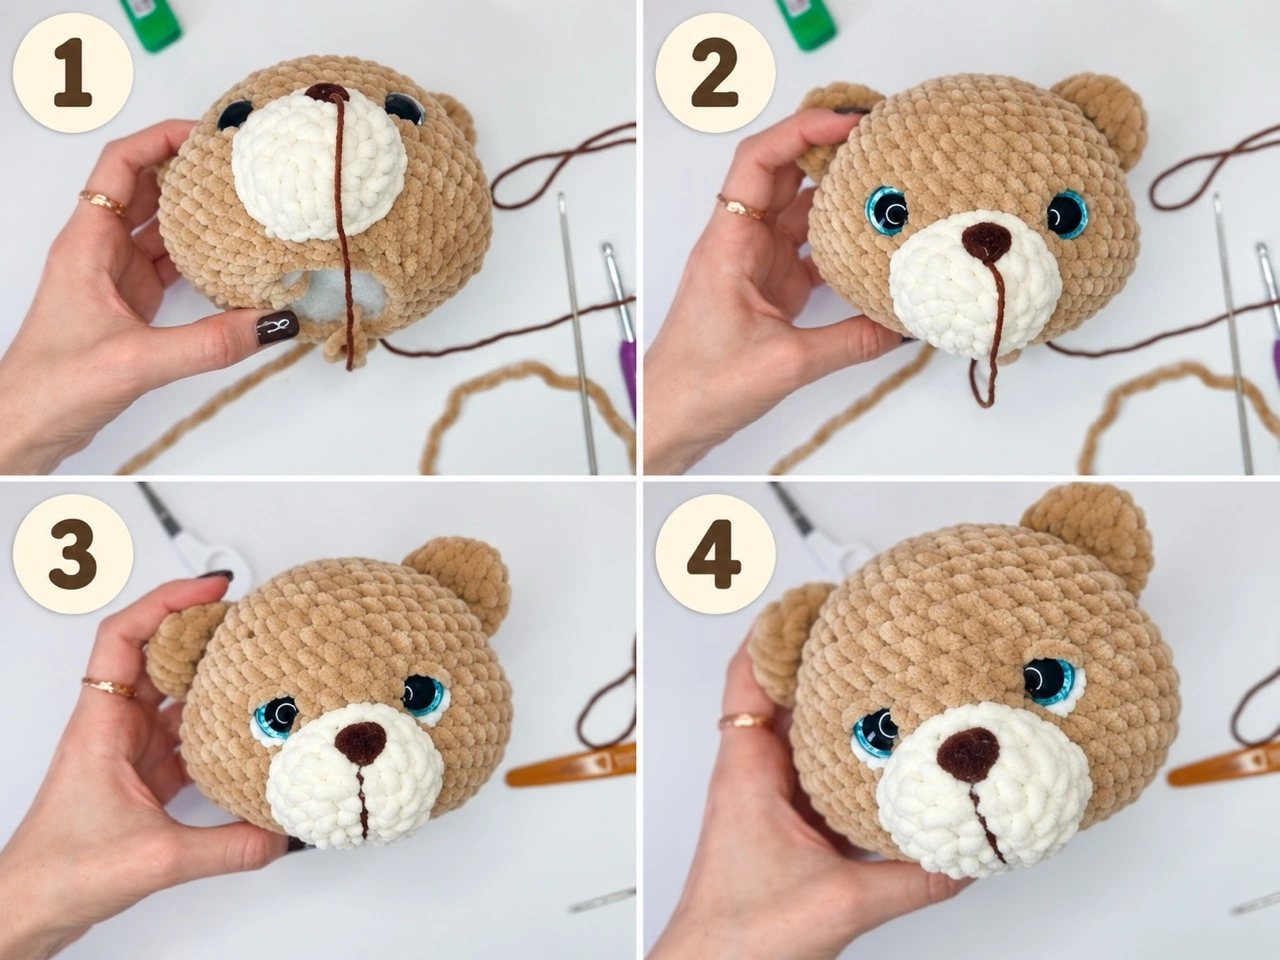
After the ears and snout are sewn on, use a long thread to sculpt the muzzle: enter through the opening at the back of the head, travel between the paired face points, return to the opening, and gently tighten. Secure the thread to a back loop and repeat twice more for a softly shaped snout.
Use brown thread to define the muzzle and embroider the eyebrows. Embroider the upper eyelids in main yarn, then add the whites of the eyes in white yarn. Hide every thread end inside the head.
Part 4 · Classic Crochet Teddy Bear Pattern Legs
Right hind leg
- R1: 6 sc in a MR.
- R2: 6 inc. (12)
- R3: (1 sc, inc) × 6. (18)
- R4: (2 sc, inc) × 6. (24)
- R5: (3 sc, inc) × 6. (30)
- R6–R7: 30 sc.
- R8: (1 sc, dec) × 6, 12 sc. (24)
- R9: 6 dec, 10 sc; move the round marker here. (18)
- R10–R16: 18 sc.
- R17: (1 sc, dec) × 6. (12)
Crochet 2–4 extra sc if needed to align the fold, then fold the opening and work 6 sc through both layers.
Left hind leg
- R1: 6 sc in a MR.
- R2: 6 inc. (12)
- R3: (1 sc, inc) × 6. (18)
- R4: (2 sc, inc) × 6. (24)
- R5: (3 sc, inc) × 6. (30)
- R6–R7: 30 sc.
- R8: 12 sc, (1 sc, dec) × 6. (24)
- R9: 12 sc, 6 dec. (18)
- R10–R16: 18 sc.
- R17: (1 sc, dec) × 6. (12)
Align the fold with 2–4 extra sc if needed, then work 6 sc through both layers. Stuff both hind legs firmly to the middle and at the top, but keep them flexible. The closures should face inward when the legs are joined to the body.
Right foreleg
- R1: 6 sc in a MR.
- R2: 6 inc. (12)
- R3: (1 sc, inc) × 6. (18)
- R4: (8 sc, inc) × 2. (20)
- R5–R6: 20 sc.
- R7: (1 sc, dec) × 4, 8 sc. (16)
- R8: 4 dec, 6 sc; move the marker. (12)
- R9–R15: 12 sc.
- R16: (2 sc, dec) × 3. (9)
Work 2–3 extra sc if needed, fold, and crochet 4 sc through both layers.
Left foreleg
- R1: 6 sc in a MR.
- R2: 6 inc. (12)
- R3: (1 sc, inc) × 6. (18)
- R4: (8 sc, inc) × 2. (20)
- R5–R6: 20 sc.
- R7: 8 sc, (1 sc, dec) × 4. (16)
- R8: 6 sc, 4 dec. (12)
- R9–R15: 12 sc.
- R16: (2 sc, dec) × 3. (9)
Align with 2–3 extra sc if needed; fold and work 4 sc through both layers. Move the marker if needed so the final closing stitch sits neatly when the arms are joined.
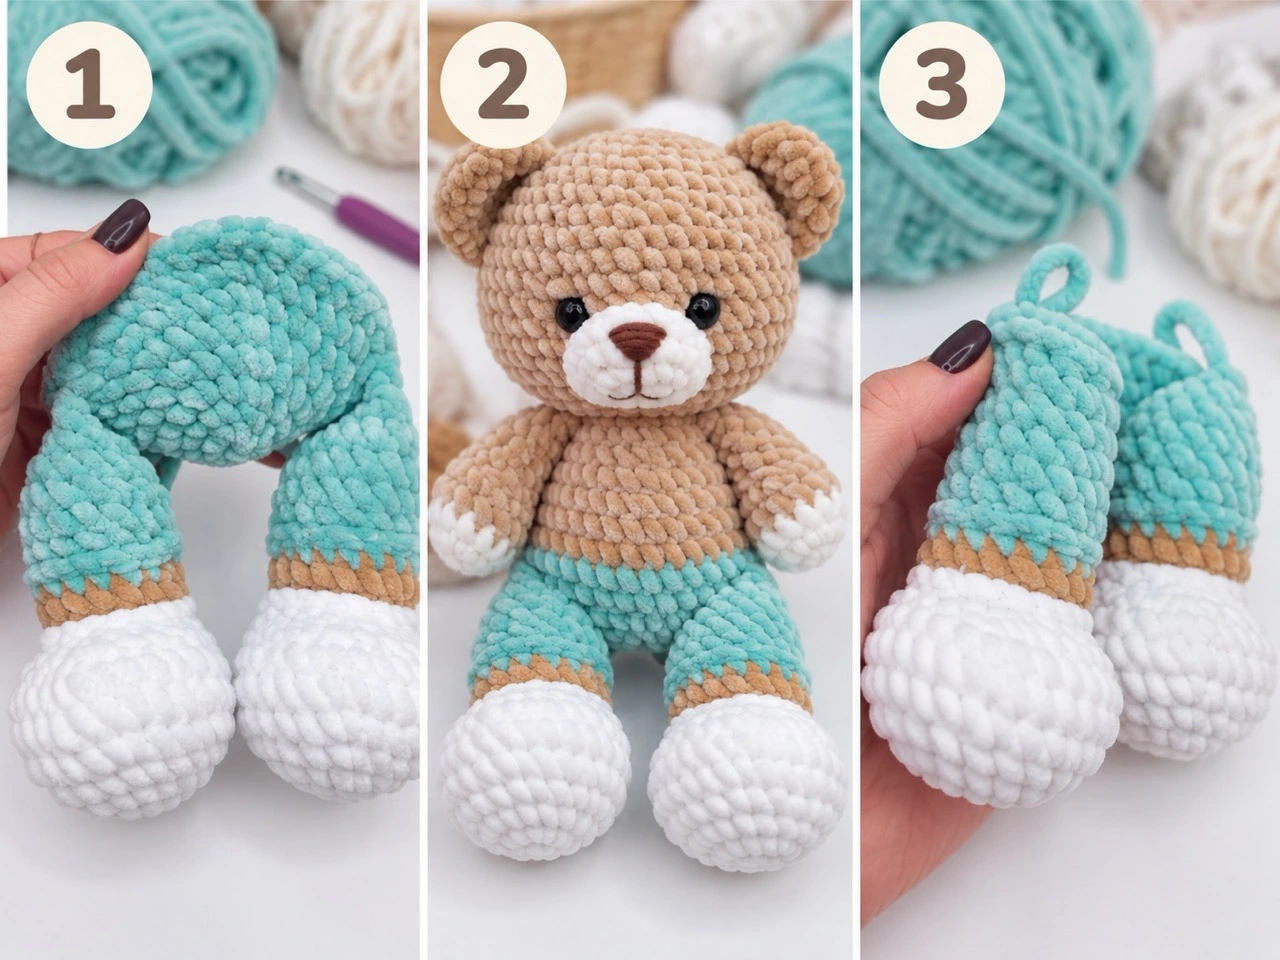
Part 5 · Pajama Crochet Teddy Bear Pattern Legs
Use the same shaping as the classic version, with these colour and edging changes.
Hind legs
For the right leg, begin in white. Work R1–R8 as for the right classic hind leg. On R9, work 6 dec, 10 sc and change to main yarn on the last stitch; place the marker. Work R10 in BLO: 18 sc in main yarn. Work R11: 18 sc in main yarn, changing to pajama yarn on the final stitch. Work R12: 18 sc in pajama yarn. Work R13 in BLO: 18 sc. Attach pajama yarn to the front loop of R12 and work 18 sl st. Complete R14–R17 as for the classic leg.
For the left leg, begin in white. Work R1–R8 as for the left classic hind leg. On R9, work 12 sc, 6 dec and change to main yarn on the last stitch. Work R10 in BLO: 18 sc in main yarn. Attach white yarn to the front loop of R9 and work 18 sl st. Work R11: 18 sc, changing to pajama yarn on the final stitch. Work R12: 18 sc in pajama yarn. Work R13 in BLO: 18 sc. Attach pajama yarn to the front loop of R12 and work 18 sl st. Complete R14–R17 as for the classic leg.
Stuff firmly to the middle and top. Use a smaller hook for neat edging if you like, and hide the yarn ends before closing.
Forelegs
For the right foreleg, begin in main yarn and work R1–R7 as for the classic right foreleg. On R8, work 4 dec, 6 sc; change to pajama yarn on the final stitch and move the marker. Work R9: 12 sc. Work R10 in BLO: 12 sc. Attach pajama yarn to the front loop of R9 and work 12 sl st. Complete R11–R16 as for the classic foreleg.
For the left foreleg, begin in main yarn and work R1–R7 as for the classic left foreleg. On R8, work 8 sc, 4 dec and change to pajama yarn on the last decrease. Work R9: 12 sc. Work R10 in BLO: 12 sc. Attach pajama yarn to the front loop of R9 and work 12 sl st. Complete R11–R16 as for the classic foreleg.
Stuff each arm well to R10, then only lightly through R15. Leave the very top unstuffed.
Part 6 · Crochet Teddy Bear Pattern Body and Joined Legs
Use main yarn for the classic bear or pajama yarn for the pajama bear.
- R1: 6 sc in a MR.
- R2: 6 inc. (12)
- R3: (1 sc, inc) × 6. (18)
- R4: (2 sc, inc) × 6. (24)
- R5: (3 sc, inc) × 6. (30)
- R6: (4 sc, inc) × 6. (36)
- R7: (5 sc, inc) × 6. (42)
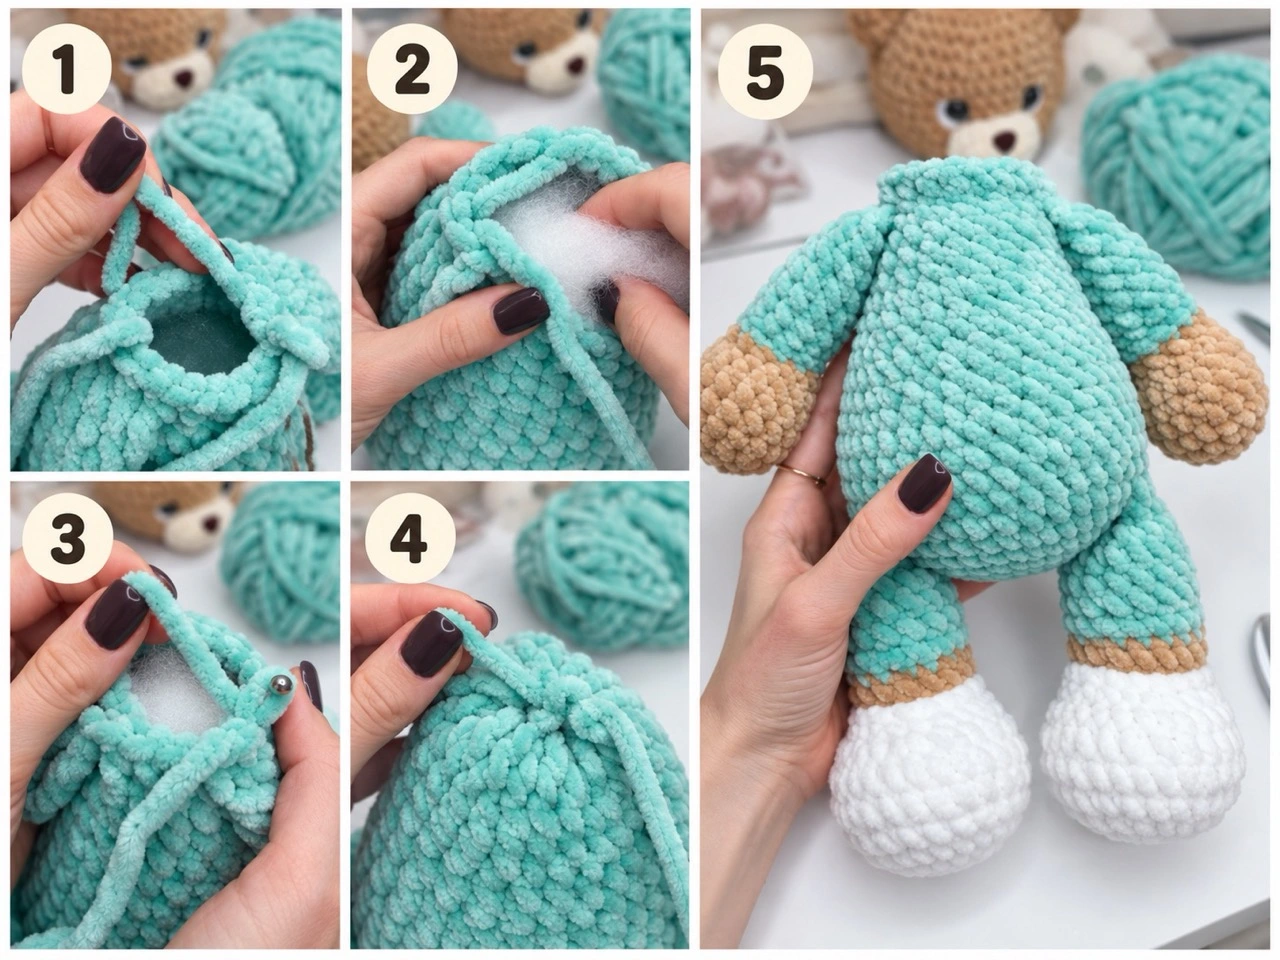
- R8: Join hind legs: 7 sc, 6 sc through leg and body, 16 sc, 6 sc through leg and body, 7 sc. (42)
- R9–R11: 42 sc.
- R12: (5 sc, dec) × 6. (36)
- R13–R15: 36 sc.
- R16: (4 sc, dec) × 6. (30)
- R17–R18: 30 sc.
- R19: (3 sc, dec) × 6. (24)
- R20–R21: 24 sc.
- R22: (2 sc, dec) × 6. (18)
- R23: Join forelegs: 4 sc, 4 sc through arm and body, 5 sc, 4 sc through arm and body, 1 sc.
- R24: 18 sc, then 1 sc and 1 sl st to align.
Fasten off, hide the yarn end inside, and secure any joining tails inside the body.
Part 7 · Tail
- R1: 6 sc in a MR.
- R2: 6 inc. (12)
- R3: 12 sc.
- R4: (2 sc, dec) × 3. (9), then 1 sl st.
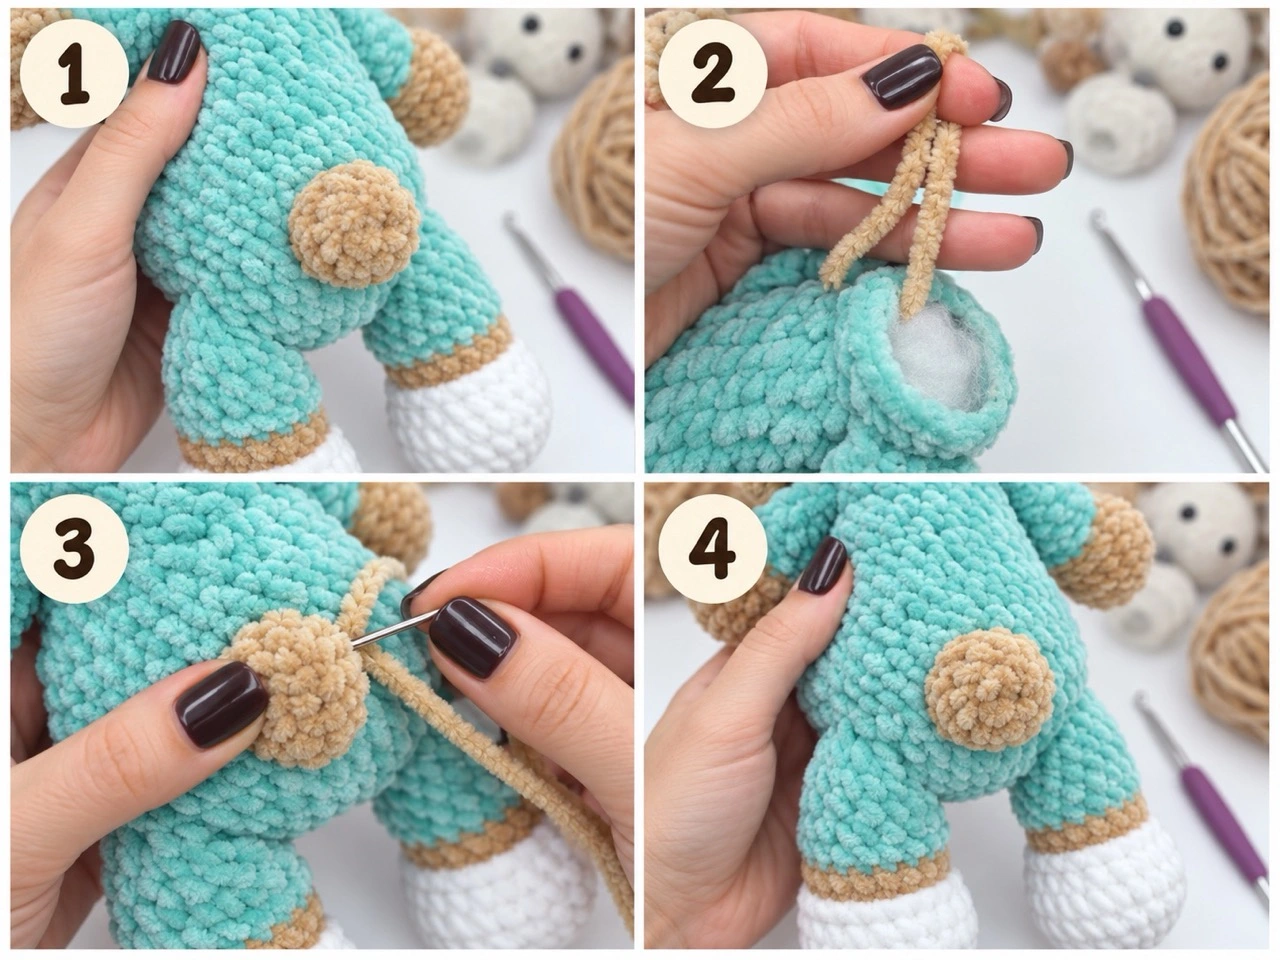
Leave a sewing tail. Sew the tail just above the hind legs, secure the yarn to a back loop inside the body opening, and hide the end.
Part 8 · Pajama Cap
- R1: Ch 48 and join into a circle; work in a spiral.
- R2: 48 sc.
- R3: 48 hdc.
- R4: (6 hdc, hdc2tog) × 6. (42)
- R5–R6: 42 hdc.
- R7: (5 hdc, hdc2tog) × 6. (36)
- R8–R9: 36 hdc.
- R10: (4 hdc, hdc2tog) × 6. (30)
- R11–R14: 30 hdc.
- R15: (3 hdc, hdc2tog) × 6. (24)
- R16–R18: 24 hdc.
- R19: (2 hdc, hdc2tog) × 6. (18)
- R20–R22: 18 hdc.
- R23: (1 hdc, hdc2tog) × 6. (12)
- R24–R26: 12 hdc.
- R27: 6 hdc2tog. (6)
- R28: 6 sc and 1 sl st.
Work 48 sl st around the foundation chain, then weave in the ends.
Pompom
- R1: 6 sc in a MR.
- R2: 6 inc. (12)
- R3: (1 sc, inc) × 6. (18)
- R4: 18 sc.
- R5: (1 sc, dec) × 6. (12)
- R6: 6 dec.
Leave a long tail, sew the pompom to R28 of the cap, knot securely, and hide the ends inside.
Finish Your Crochet Teddy Bear Pattern
- Stuff the head, body, and legs as described.
- Sew the snout and ears to the head.
- Complete the face and needle sculpting.
- Sew the head to the body with the doubled main-yarn strand.
- Check that all limbs are securely joined.
- Sew on the tail.
- Add the pajama cap if you made the pajama version.
Helpful Finishing Tips
- Keep the stitch marker in view; chenille makes missed rounds hard to spot.
- Stuff in small amounts and shape the fabric as you go.
- Use a smaller hook for the pajama edging for a cleaner finish.
- Keep the tops of the arms lightly stuffed so they sit naturally.
- Take time with the muzzle sculpting: it gives Marty his gentle expression.
Crochet Teddy Bear Pattern FAQ
What skill level is this crochet teddy bear pattern?
It is best for an intermediate beginner who knows magic ring, single crochet, increases, decreases, and basic assembly.
How big is the finished bear?
With super-bulky chenille yarn and a 5 mm hook, Marty is large and huggable—roughly 30–40 cm tall, depending on your tension.
Can I make Marty without pajamas?
Yes. Use the classic-leg instructions and continue in the main colour for the body.
Can I change the yarn colours?
Absolutely. Choose any bear, snout, pajama, and cap colours you love. Yarn weight and hook size will change the finished size.
Why is needle sculpting used?
It gently pulls and shapes the muzzle, giving Marty a more defined, expressive face.
Ready for the Next Stitch?
This crochet teddy bear pattern makes Marty the kind of soft, handmade bear that becomes a favourite companion. Start with the first magic ring, work one section at a time, and enjoy watching the character take shape.
Happy crocheting!
Ready for your next soft make?
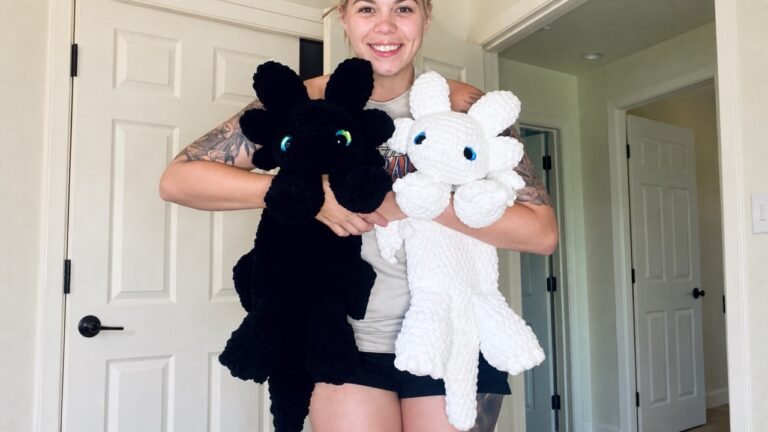
Save this pattern, share your finished Marty, and for another huggable make, try our Dragon Snuggler crochet pattern.